This month over at Challenge Heaven one of the challenges is 'Your'e Amazing" in the title, and to use chipboard on the layout.
As DT for July here is my sample:
I used the fantabulous Pink Paisley - Botanical Gardens Range and spruced it up with some Vintage Lace, flowers and a little imagination.
One of the papers had this gorgeous fairy right in the centre of the paper, so I cut the middle of the paper out (around 8.5 x 8.5 " square), rotated the left over frame and then stuck it back down more over to the left, this left a gap in the top and left hand side, so I improvised with a strip from another sheet and filled the gaps. :)
No cardstock used here:) sometimes the patterned paper is just to gorg to not utilise!
I arranged the flowers with some cheesecloth and vintage lace tied together with cheesecloth scraps. They were inked with my favourite Victorian Velvet distress Ink, The chippis is a scrapware piece and this was spruced up with some Smooch ! :) (gotta love that stuff!)
The fairy images are from the Pink Paisley papers range, the transparent bird is Tattered Angels Glimmer Glass and the Journaling spot is also Tattered Angels.
I just love the Bruno Mars song your Amazing, and this was so appropriate for my baby girl, I sing it to her and her brothers all day long, usually the same bit over and over again!
"When I see you smile, the whole world stops and stares for a while, because your amazing, just the way you are" and I have a wonderful singing voice ! hehehehehe not !
I have promised the boys a page with them on it and the same journaling, but as I am the only one of the DT at Challenge Heaven with a girl I kinda feel obliged to do girl pages ! :0)
I added a hand made netting circle with a vintage button in the centre to the top right corner, and placed some cheesecloth behind it to soften it a little (and also to hide a destraction in the photo!:))
The embossed corner is another Tattered Angels goodie with a swipe of Vintage Pink DI :) There are also one in each corner of the layout. I kinda like how they give it that victorian look.
At the bottom of the page there is a Victorian Lace Border punched edge and some vintage lace underneath to give it a bit of a lift. In the above image I have also rolled back the paper a little and snuck some vintage lace behind to give a bit of extra look .
So thats me done! TFL XXXX
Thursday, June 30, 2011
Friday, June 17, 2011
No Waste Here
Well anyone who has attended any of my classes will know that I am someone who hates waste! you know like cutting up a whole sheet of paper for 1 sq inch.... I will find something else instead and just make do.
This Layout has been produced as a DT take on the Challenge Heaven's Cyber Crop this weekend 17- 19th June and the theme is Scrap a Sleepy Photo using Black Cardstock as a base.
Well here is my sleepy photo, my 3 monkeys taking full advantage of a thunderstorm, they wont sleep in there own beds if its thundering, move over mum and dad we are moving in! grrrr
This Layout has been produced as a DT take on the Challenge Heaven's Cyber Crop this weekend 17- 19th June and the theme is Scrap a Sleepy Photo using Black Cardstock as a base.
Well here is my sleepy photo, my 3 monkeys taking full advantage of a thunderstorm, they wont sleep in there own beds if its thundering, move over mum and dad we are moving in! grrrr
So I used My Minds Eye Paper and embellies, with and RW Laser Cuts Title ( I cut the moon off that was on it and added and S as it is 'we' not 'I' !) , I used every piece of the patterned paper, I cut a border with a Fiskers Border Punch and even used the left over bits and pieces in the bottom right (the spotty bit) and also the Top right above the banners.
The Black material circles, had there edges singed to melt them a little (be careful when doing this) and then they were dusted with Diamond Dust to give that sugary look ! :)
The background was created with Glimmer Glam in B Positive, and blown around with a straw to make it look like it had been spilt, then a little Iridescent gold Glimmer Mist blown around in the same way to to finish it all off. Oh and almost forgot I painted the chippy title with Golden Goddess Glimmer Glam
Oh and I mustn't forget the stitching round the edge, thanks again Sewing Genie ! :)
TFL S XXXXXXXXXXXX
Cyber Crop at challenge heaven and the first one up is ...........
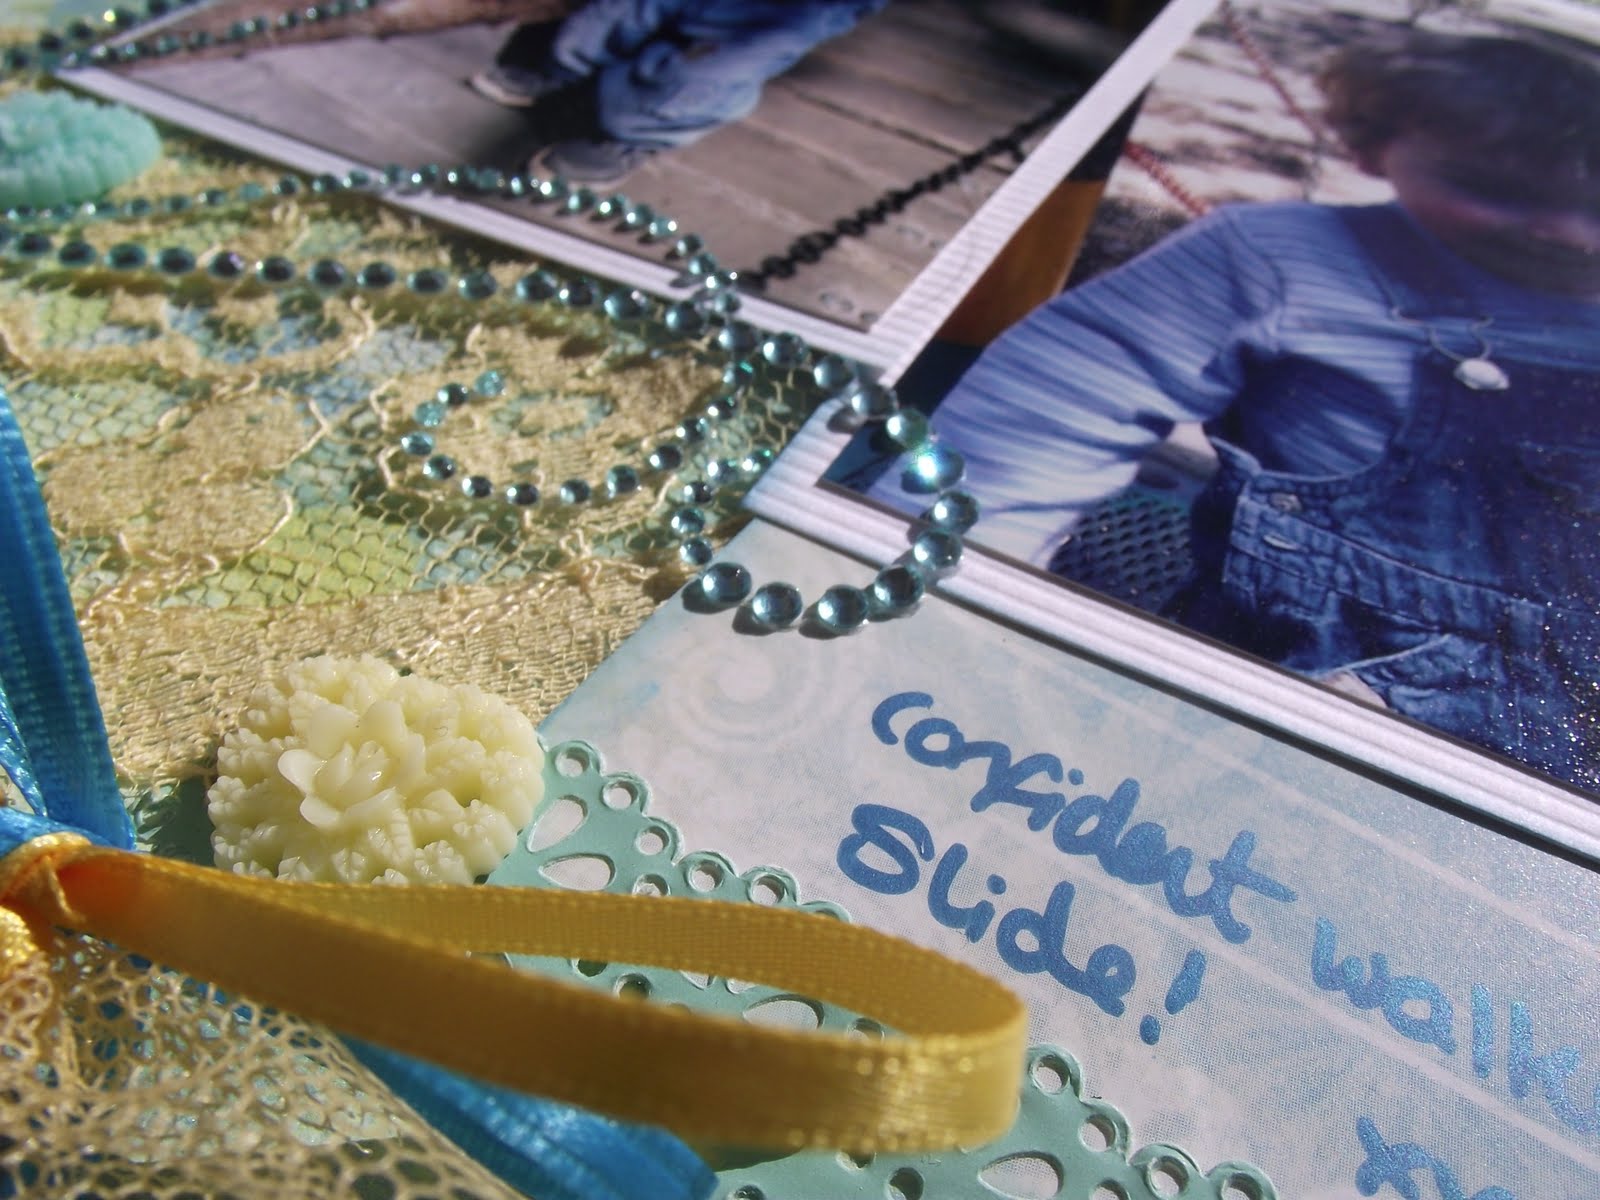
Challenge # 1 is Turquoise, Yellow & White plus paint
& here is my share
So I guess you are wanting to know how I did this ??
Well these are colour's I can say hand on heart I don't use very often, but always up for a challenge and like to do out of the norm from time to time its good to push out of your comfort zone, so here is what I did, I started with Turquoise Bazzill Bling as a background / Base and stamped in white acrylic paint with a Tattered Angels glimmer screen (smothered paint over it and then stamped onto the surface)
Then I gave it a generous squirt with Banana Glimmer Chalk and then with the screen in place as well .
I then added layers, as you can see in the image, I have some vintage yellow lace and netting also in Blue I was given this from a very dear friend who found it from her mother in laws wedding dress and she is 90 :) OMG it is gorgeous in real life, had she not already chopped me some I maybe would have said no it belongs in a museum ! hahahah
so here are some more close up's
The Chippy alpha's were covered in texture paste & then painted in Pearlescent white Acrylic Paint, then inked slightly with distress ink ! :)
So anyway hope you enjoyed the tour of the layout, looking forward to seeing them all on Challenge Heaven. Good Luck girls !
& here is my share
So I guess you are wanting to know how I did this ??
Well these are colour's I can say hand on heart I don't use very often, but always up for a challenge and like to do out of the norm from time to time its good to push out of your comfort zone, so here is what I did, I started with Turquoise Bazzill Bling as a background / Base and stamped in white acrylic paint with a Tattered Angels glimmer screen (smothered paint over it and then stamped onto the surface)
Then I gave it a generous squirt with Banana Glimmer Chalk and then with the screen in place as well .
I then added layers, as you can see in the image, I have some vintage yellow lace and netting also in Blue I was given this from a very dear friend who found it from her mother in laws wedding dress and she is 90 :) OMG it is gorgeous in real life, had she not already chopped me some I maybe would have said no it belongs in a museum ! hahahah
so here are some more close up's
The Chippy alpha's were covered in texture paste & then painted in Pearlescent white Acrylic Paint, then inked slightly with distress ink ! :)
So anyway hope you enjoyed the tour of the layout, looking forward to seeing them all on Challenge Heaven. Good Luck girls !
Wednesday, June 8, 2011
Friday, May 27, 2011
Christmas is coming!
Sorry its been nearly a week since I posted, but I seem to just be getting busier! how the hell I ever managed to run a shop before I will never know, anyway I have been working on a few different things, you know what its like when you have your fingers in a few different pies! ;-) but nothing to share that has been completely finished or should I say nothing that I can share with you without getting my hands slapped :)
So I though you might like a quick squidge at something that's coming up ! :) I am in the process of writing a full tutorial of this so you can do your own step by step. :) So here is a sneak peak .......
Anyway this brings me back to the post title Christmas is Coming! WHAT?? I hear you all scream!
Well it is every day is getting one step closer to Chrissy and every year I rush and struggle to get through all the stuff I need to do, having 2 birthday's at end of Nov (hubby and no1 son) and then 2 in Dec right on xmas how selfish of them to want to be born 2 days before chrissy! tsk tsk! (no2 son & only daughter) I always find come xmas I am ripping my hair out !
Anyway I digress! so this year I am getting organised before hand, so Christmas in June / July hear I come! and because I am so nice I will also add a full tutorial, and if you would like the papers I have used they will be available for purchase thru Abundantias Gold, but not yet so don't get too excited ! :)
I think I have waffled enough now, time to rotate the laundry decore in the house, I am getting fed up with looking at the pink skivvy it doesn't match the decor, time to swap it with a navy blue one.
Ahhh I love winter !!!!!! not
Simone XXXX
So I though you might like a quick squidge at something that's coming up ! :) I am in the process of writing a full tutorial of this so you can do your own step by step. :) So here is a sneak peak .......
Anyway this brings me back to the post title Christmas is Coming! WHAT?? I hear you all scream!
Well it is every day is getting one step closer to Chrissy and every year I rush and struggle to get through all the stuff I need to do, having 2 birthday's at end of Nov (hubby and no1 son) and then 2 in Dec right on xmas how selfish of them to want to be born 2 days before chrissy! tsk tsk! (no2 son & only daughter) I always find come xmas I am ripping my hair out !
Anyway I digress! so this year I am getting organised before hand, so Christmas in June / July hear I come! and because I am so nice I will also add a full tutorial, and if you would like the papers I have used they will be available for purchase thru Abundantias Gold, but not yet so don't get too excited ! :)
I think I have waffled enough now, time to rotate the laundry decore in the house, I am getting fed up with looking at the pink skivvy it doesn't match the decor, time to swap it with a navy blue one.
Ahhh I love winter !!!!!! not
Simone XXXX
Tuesday, May 24, 2011
Sunday, May 22, 2011
He's Got the Look
One of the challenges over at Challenge Heaven this month is using the title "He's got the look" or She if you dont have a he to scrap :)
So I decided to scrap this random shot I took back in 2009 whilst holiday in hot QLD! it was so humid we were melting. eek.
Anyway I have really gone grunge on this one, I am sure Tim Holtz may well have had a large chunk of his products used on this page ! :)
So I used some of the Kaisercraft new Timeless range, and added my own adjustments to it, there's quite a lot of detail so I will do my best to describe it as I go along.
In this bottom Left corner I stamped with a Stampers Anonymous flourish and then embossed it with Ranger Embossing Puffs in Vintage Photo, note how it raises up slightly and gives an almost flocked appearance - Love the texture this exhibits.!
I edged the Patterened Paper in metal foil tape by Inkessentials, then created 4 photo cormers by embossing black cardstock with UTEE (Ultra Thick Embossing Enamel) and stamping into it whilst still warm. I used the samp flourish stamp I used in the background.
The Flourish is from Flourish With a Bling FWAB Luke Black and can be purchased thru Abundantias Gold
these are great sticky backed and so easy to apply. I gave it a little sand to grunge it up a little.
The Background Patterened Paper was painted withj Tim Holtz distress crackle Paint, in Copper and Pewter, I deliberatly made it thicker is some areas to create a more textured look. & another close up of the photo corners.
You need to allow the crakcle paint to dry naturally and not heat it up with a heat gun, if you do it will bubble. In this case I wanted it to bubble as I felt this kind of added to the grunge / industrial look.
Hope this gave you a few pointers and ideas,
Thanks for looking :)
Simone XX
So I decided to scrap this random shot I took back in 2009 whilst holiday in hot QLD! it was so humid we were melting. eek.
Anyway I have really gone grunge on this one, I am sure Tim Holtz may well have had a large chunk of his products used on this page ! :)
So I used some of the Kaisercraft new Timeless range, and added my own adjustments to it, there's quite a lot of detail so I will do my best to describe it as I go along.
In this bottom Left corner I stamped with a Stampers Anonymous flourish and then embossed it with Ranger Embossing Puffs in Vintage Photo, note how it raises up slightly and gives an almost flocked appearance - Love the texture this exhibits.!
I edged the Patterened Paper in metal foil tape by Inkessentials, then created 4 photo cormers by embossing black cardstock with UTEE (Ultra Thick Embossing Enamel) and stamping into it whilst still warm. I used the samp flourish stamp I used in the background.
The Flourish is from Flourish With a Bling FWAB Luke Black and can be purchased thru Abundantias Gold
these are great sticky backed and so easy to apply. I gave it a little sand to grunge it up a little.
The Background Patterened Paper was painted withj Tim Holtz distress crackle Paint, in Copper and Pewter, I deliberatly made it thicker is some areas to create a more textured look. & another close up of the photo corners.
You need to allow the crakcle paint to dry naturally and not heat it up with a heat gun, if you do it will bubble. In this case I wanted it to bubble as I felt this kind of added to the grunge / industrial look.
Hope this gave you a few pointers and ideas,
Thanks for looking :)
Simone XX
Subscribe to:
Posts (Atom)